The weather outside is frightful, but winter meals containing fresh herbs are so delightful!
Gardeners know that there is simply no comparison between store bought produce and food plucked straight from the garden. Homegrown fruits, vegetables, and herbs are simply more flavorful and nutritious when picked at their peak of freshness and consumed right away. This is easily accomplished during the more temperate times of the year, but what about the Winter? In colder climates, fruits and vegetables are difficult to grow during the Winter months unless you have access to a heated greenhouse. Herbs, on the other hand, are easily grown indoors and can improve the taste of everything you cook all Winter long.
Let’s Begin
For the ambitious and experienced gardener, herbs may be started indoors from seed. However, along with the seed itself, you will require some familiarity with seed-starting procedures and have on-hand basic seed-starting supplies such as a heat mat, humidity dome, and grow light. A quicker and simpler way to initiate your fresh herb adventure is to select plants in pots, already established, from your local Master Nursery Garden Center. This is the easiest choice for the new gardener and will ensure the quickest results for all herb lovers.
Let’s Choose
Any herb that can be grown in the ground may also be grown in a container; however, some herbs are more easily cultivated indoors than others. Also, it is a good idea that you base your selection of herbs on those that you tend to use the most.
Our favorites include:
Basil • Chives • Marjoram • Mint • Oregano • Parsley • Rosemary • Sage • Thyme
Let’s Grow
To grow the healthiest, freshest, and most flavorful herbs indoors, consider…
Light
Select a sunny location, the brighter, the better. A south or southwest exposure is best as plants require at least 6 hours of sunlight a day to flourish. If this situation is not possible, you may want to add an indoor grow light to supplement the natural light.
Containers
While shopping for your herb starter plants, select the containers that you will transplant your new additions into. Each herb should have its own container and each container should have drainage holes. You may also want to base your choice of decorative containers on size, your décor, and personal aesthetics.
Soil
Pick up a bag of Master Nursery® Bumper Crop® Potting Soil [Eastern & Midwestern Regions | Western Region] to use for transplanting your herbs into their new containers. Superior quality Master Nursery® potting soils have an advantage over garden soil, which can harbor pests and disease and is not suited for indoor use. Our potting soil mixes provide the perfect balance of natural and organic materials to enhance drainage, water retention, and fertility for growing healthy, tasty herbs.
Fertilizer
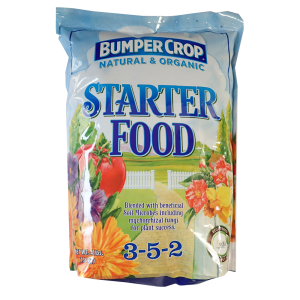
Plan to fertilize your herbs at planting time. Begin by mixing the recommended amount of Master Nursery® Bumper Crop® Starter Food or Master Nursery® Bumper Crop® All Purpose Food into your potting soil when transplanting. These natural and organic, gentle formulas will ensure that your plants receive exactly what they need to get off to the best start possible.
Water
Some herbs will prefer more water than others. This is why it is best to plant each selection in its own separate container. When choosing a pot, keep in mind that a smaller pot will dry out sooner than a larger pot and, therefore, require more frequent watering. Clay pots, because they are porous, will dry out more quickly than plastic or ceramic. Check your herbs often and water as needed. It’s a good idea to give your herbs a quick monthly shower under the faucet to wash off normal household dust, too.
Let’s Harvest
When you are ready to enjoy your herbs, simply snip what you need. Cutting often will encourage a thicker and fuller plant.
Let’s Cook
Enjoy your indoor herbs to garnish your kitchen creations. Add them to soups, stews, salads, and all manner of Winter side dishes. So easy and so tasty! Bon appétit!
Need more gardening inspiration? Click here.


